This article could contain outdated information that is inaccurate for the current version (1.52) of the game. It was last updated for 1.50.
The Home Region is the hub where players of one faction first appear every time they launch the game. It is where players deploy to the war from and where the training courses are. It is periodically reset to its default state every couple of hours or so, giving a 10 minute warning when doing so. There's more than one instance of the Home Region for each faction so it might not be possible to meet other players of your faction there.
Lore[ | ]
Callahan Statue[ | ]

You are among the elite.
Sharpen your skills, test your might.
Strive for glory and lead by example.
Become a Hand of Callahan and fight back the Colonial menace.
Callahan Statue
Supply Report[ | ]

Supply Report
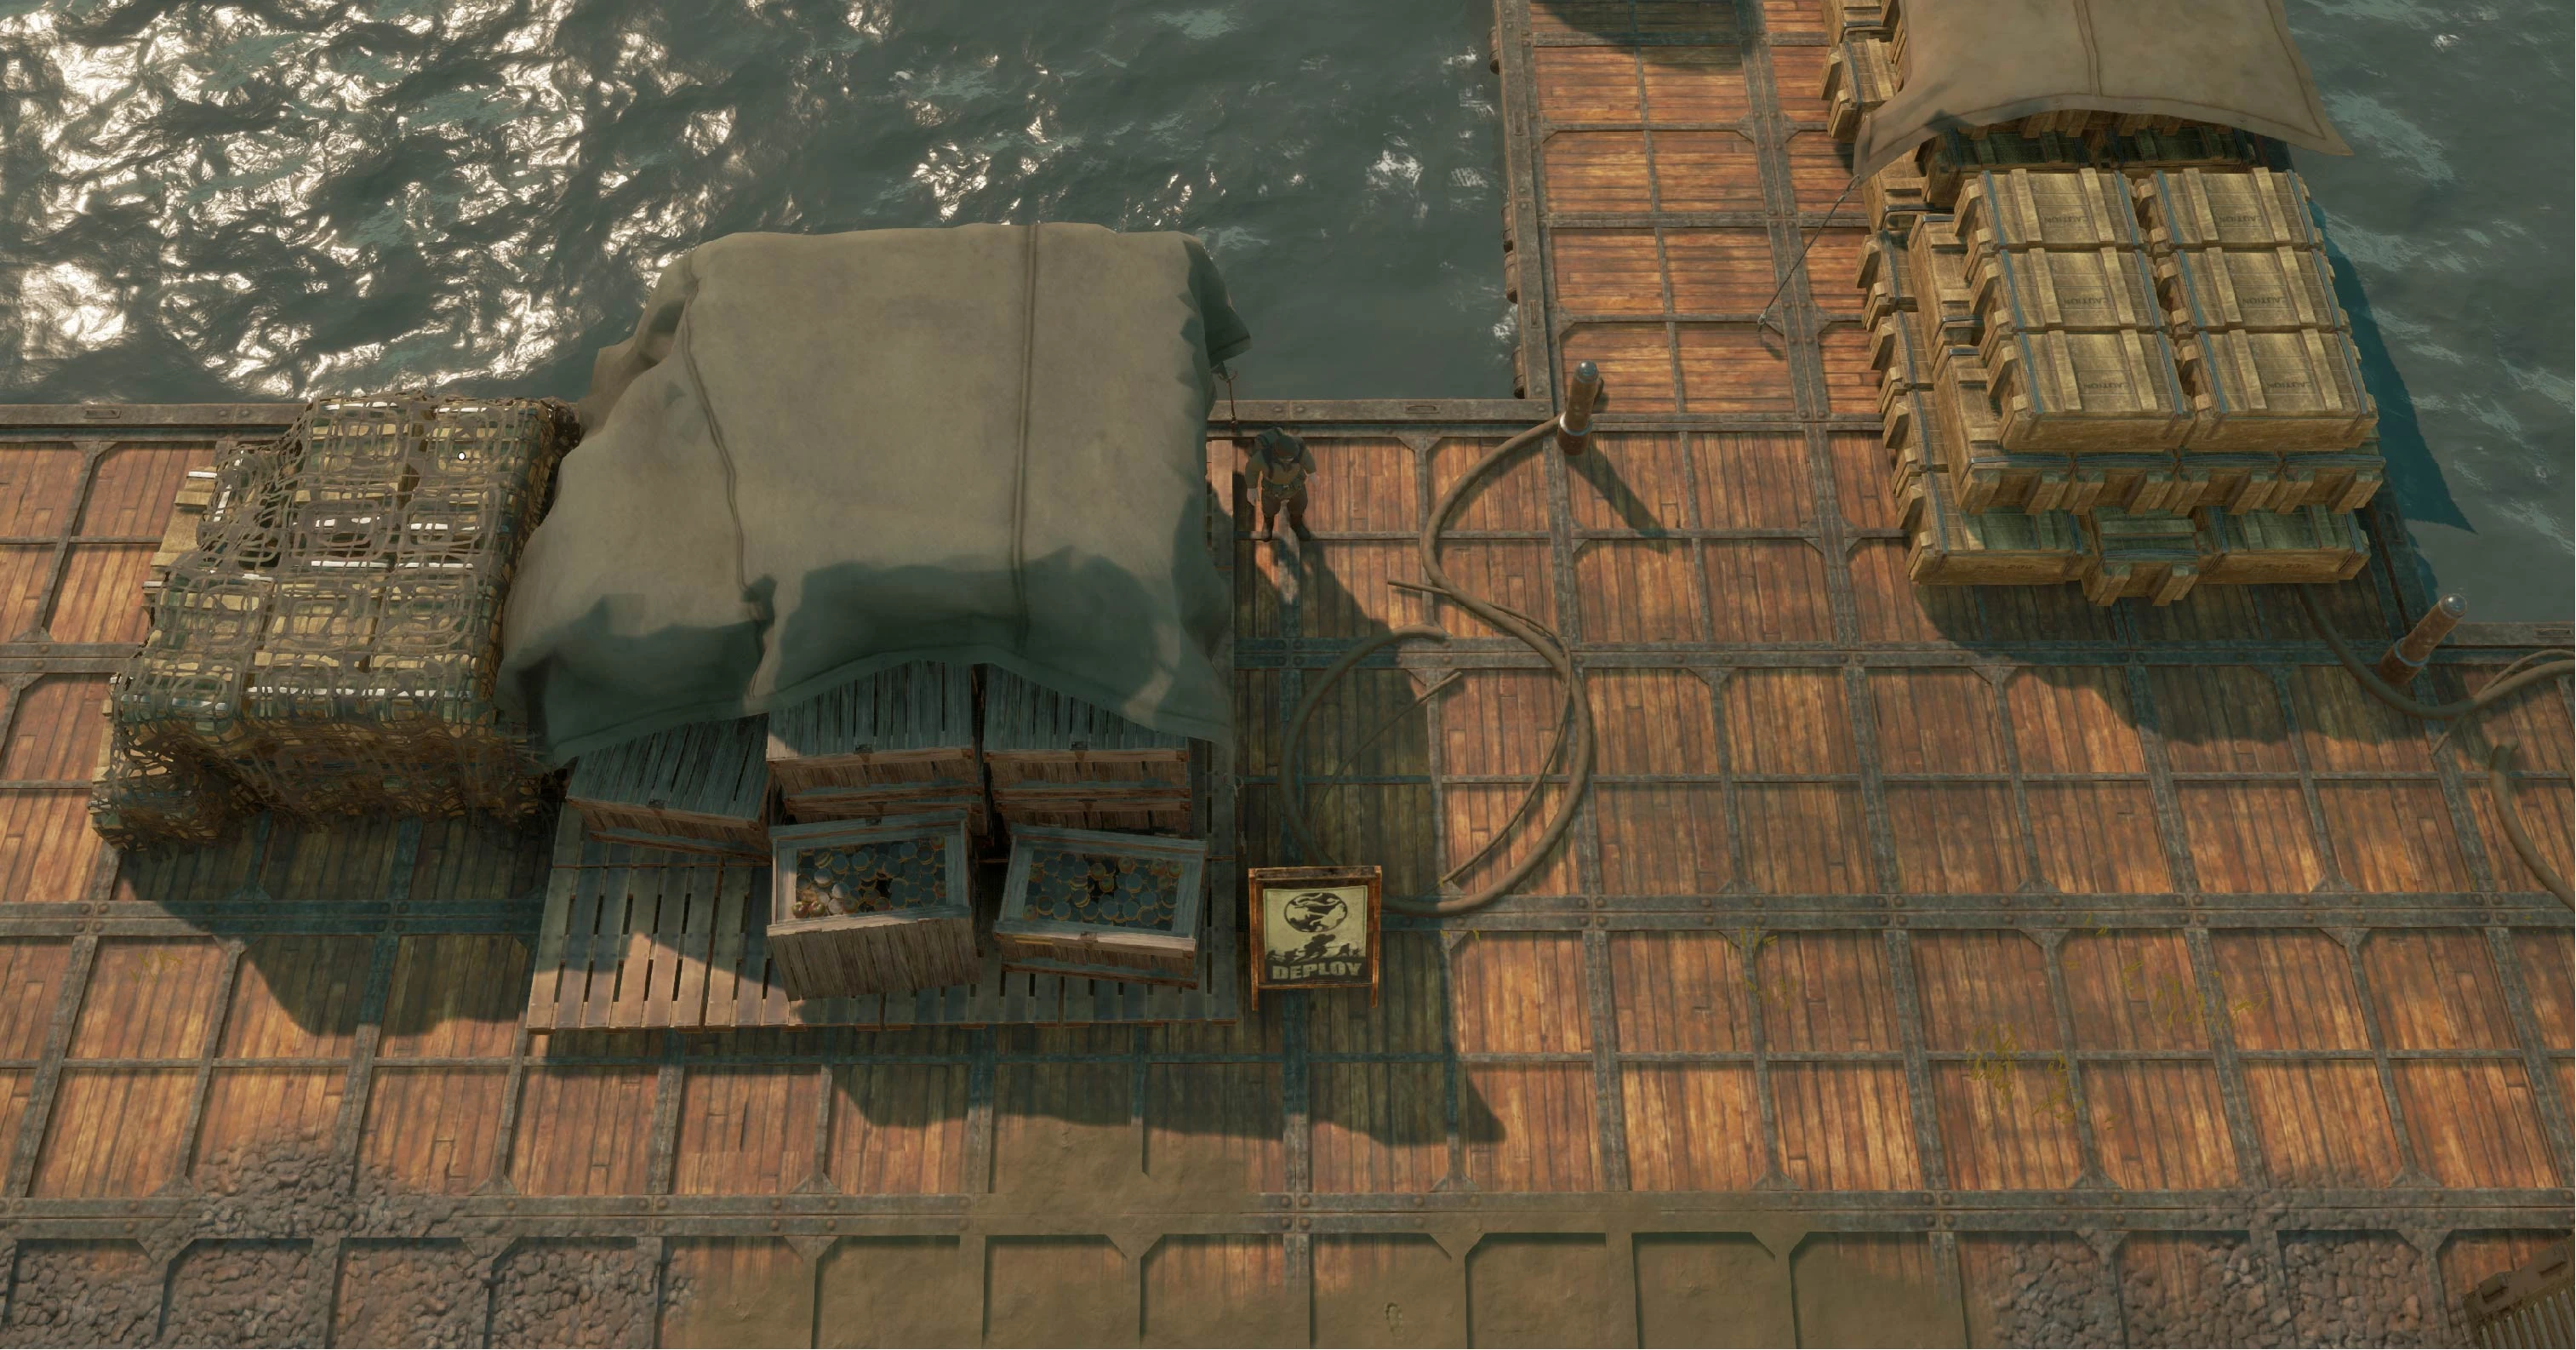
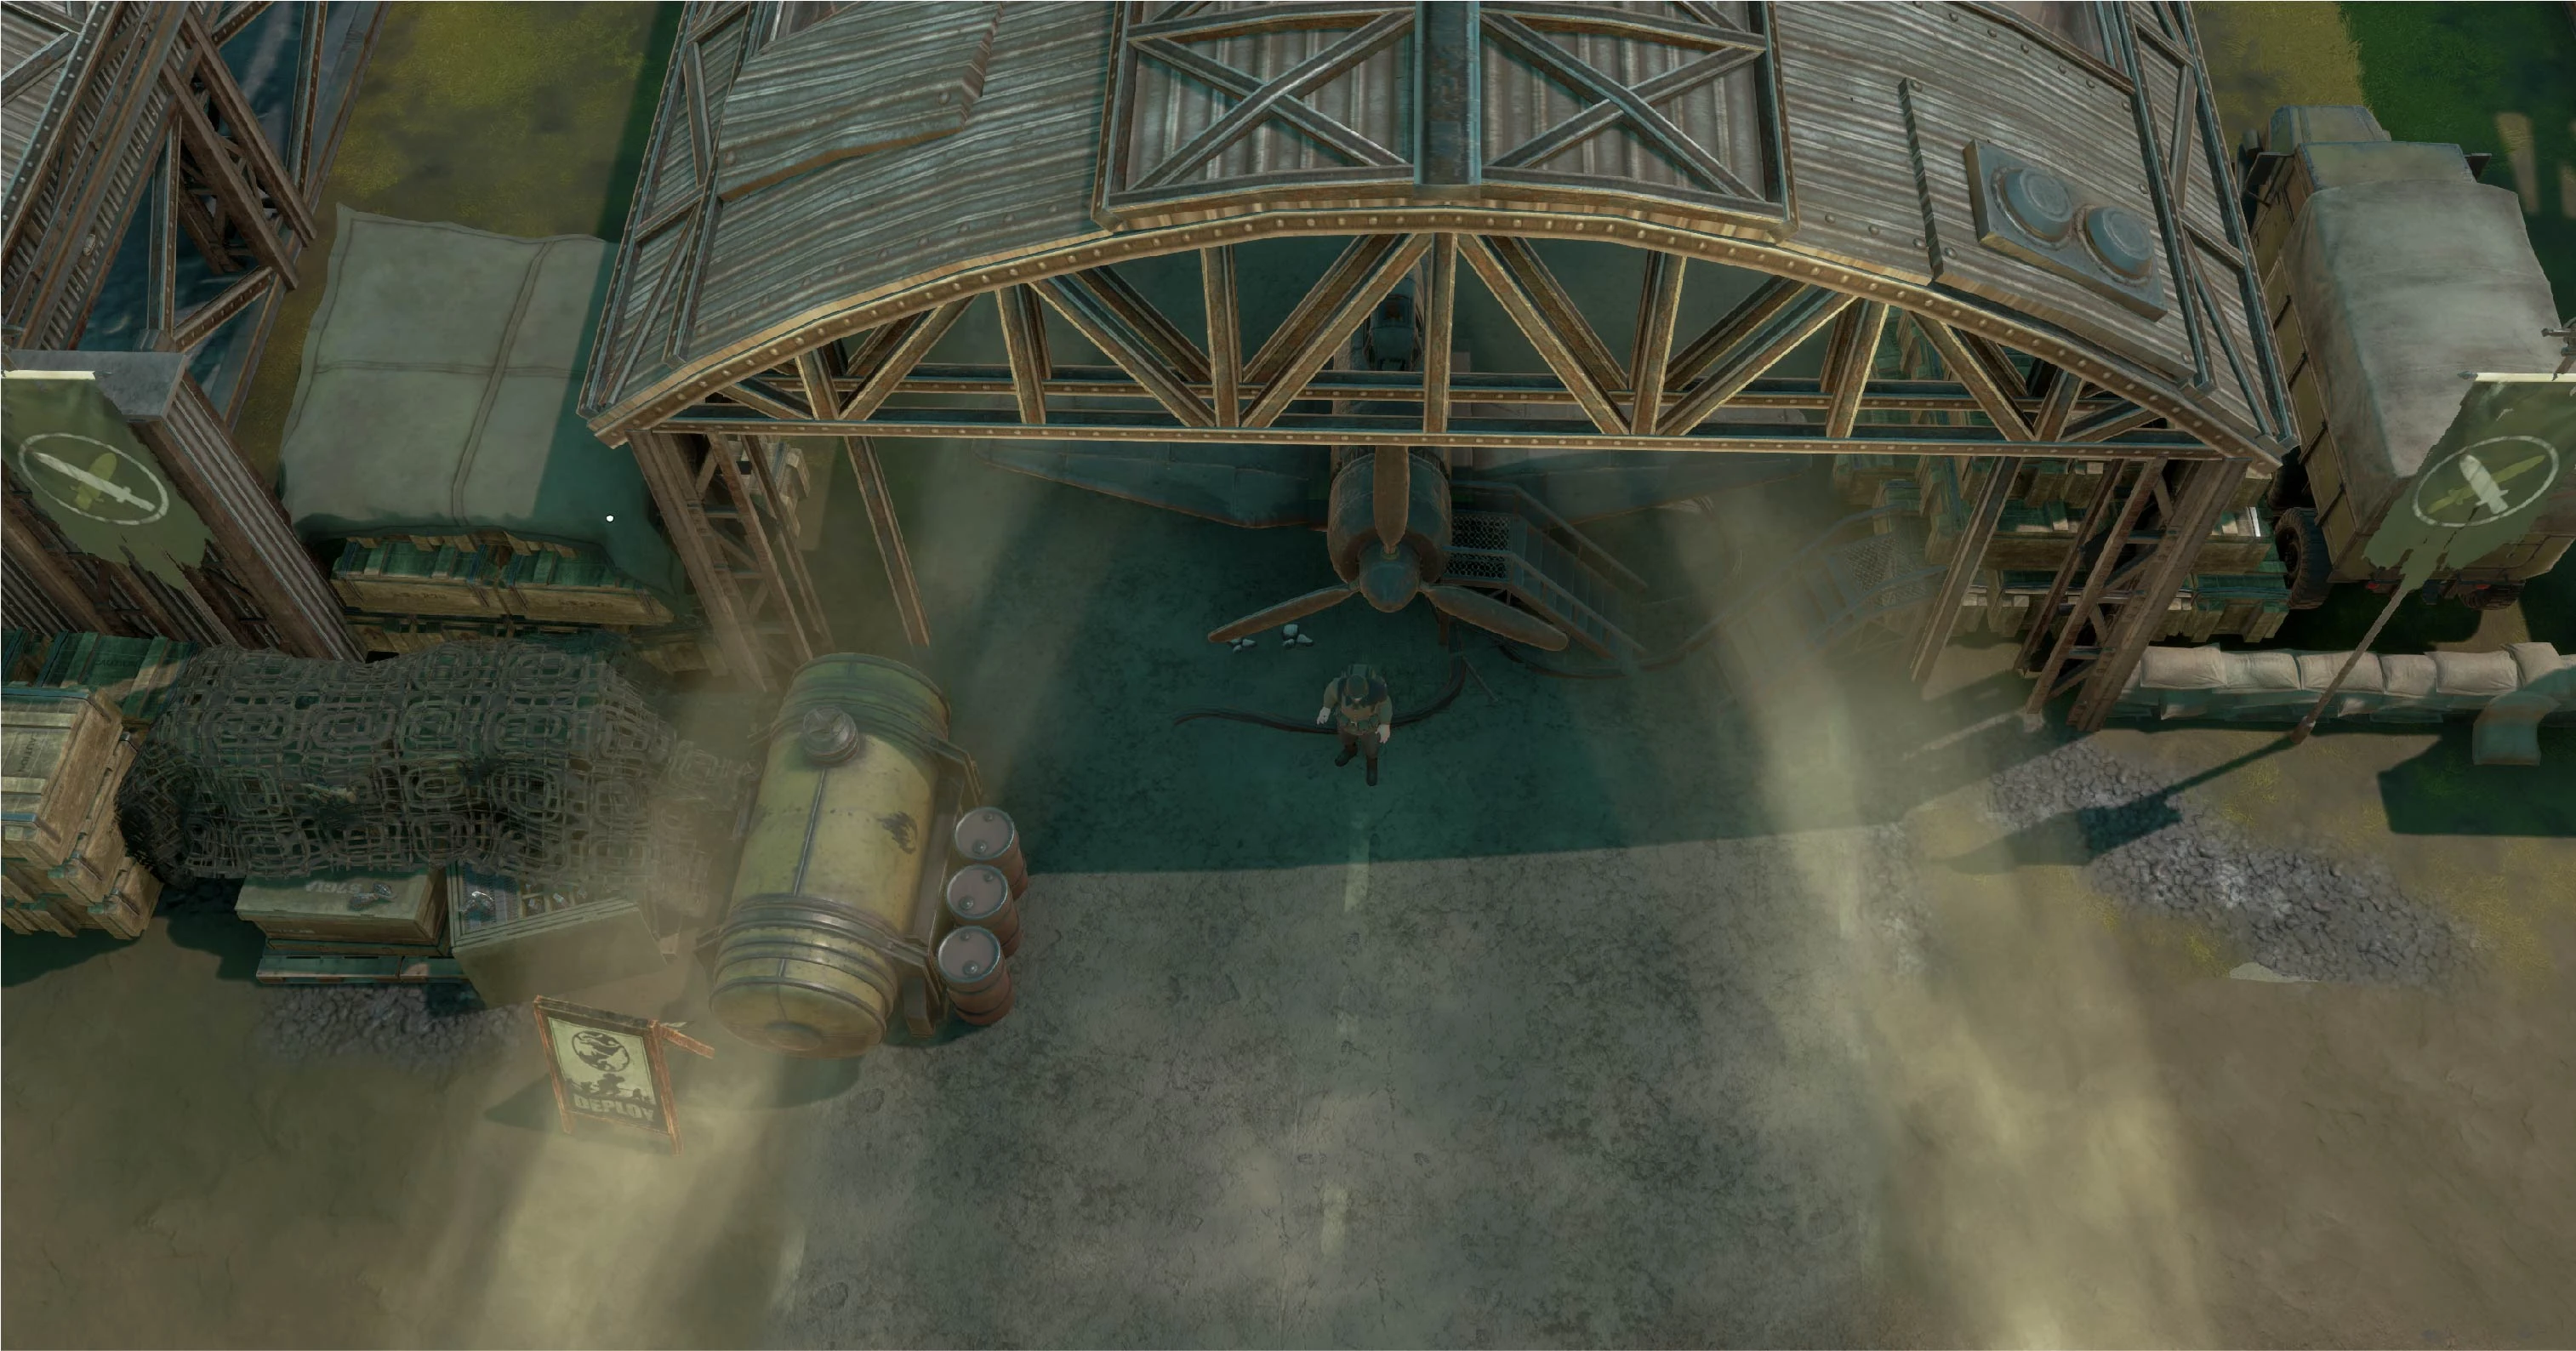
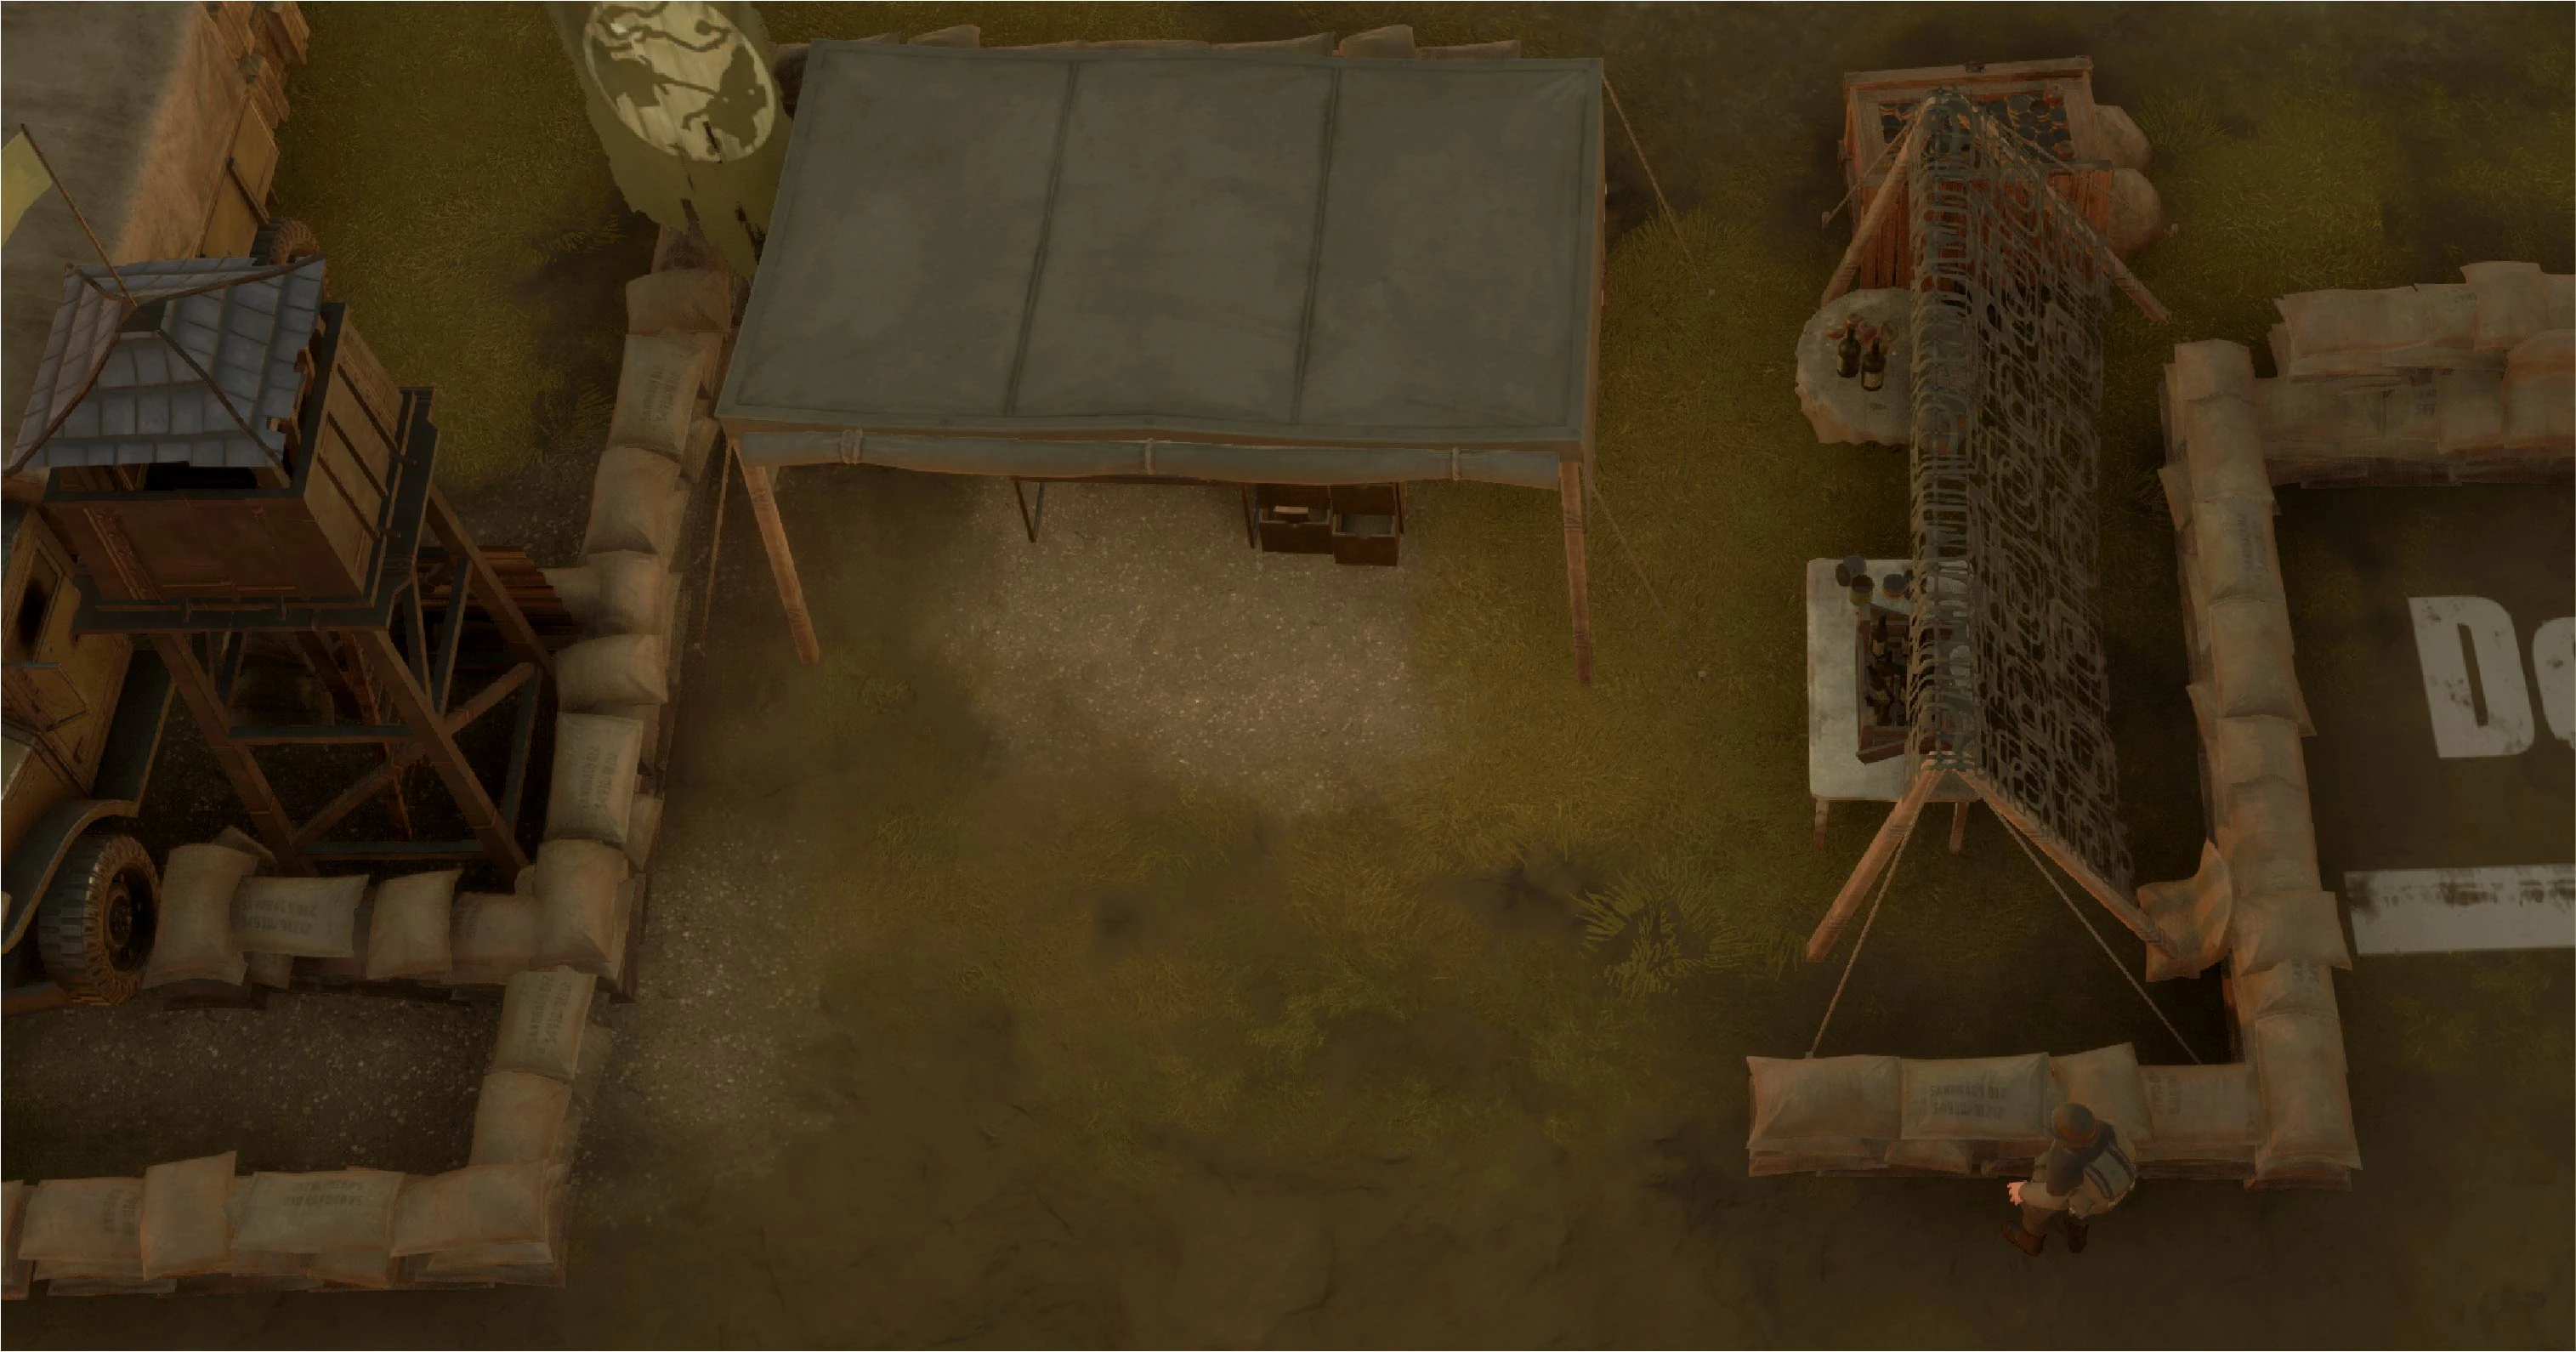
Spawn & Deployment[ | ]
In the deployment area, which can be found on the map where the ![]() or
or ![]() icons are, players are able to join the World Conquest or fight in the Resistance Phase. Outside of the map, you can follow painted signs as well as arrows to get to these locations. When in a deployment area, go to the structure and press
icons are, players are able to join the World Conquest or fight in the Resistance Phase. Outside of the map, you can follow painted signs as well as arrows to get to these locations. When in a deployment area, go to the structure and press E to access the deployment map. This will show a large amount of flashing diamonds on the map, where if you click you will spawn in that location. The faster the diamond is flashing the more player activity there. When red, the game tells you if the area is in need of reinforcements.
War Tent[ | ]
This tent allows players to view the entire map of the World Conquest. At the initial viewing, it shows an overview of the world's regions, only showing faction control. Zooming in however allows players to view their Faction's Map Intelligence, viewing the locations of Soldiers as well as Structures. The map shown in the war tent does not show supply data from Stockpiles as a measure to prevent spying. The tent can only be used after you've been faction locked for the current war (6mins of play time).
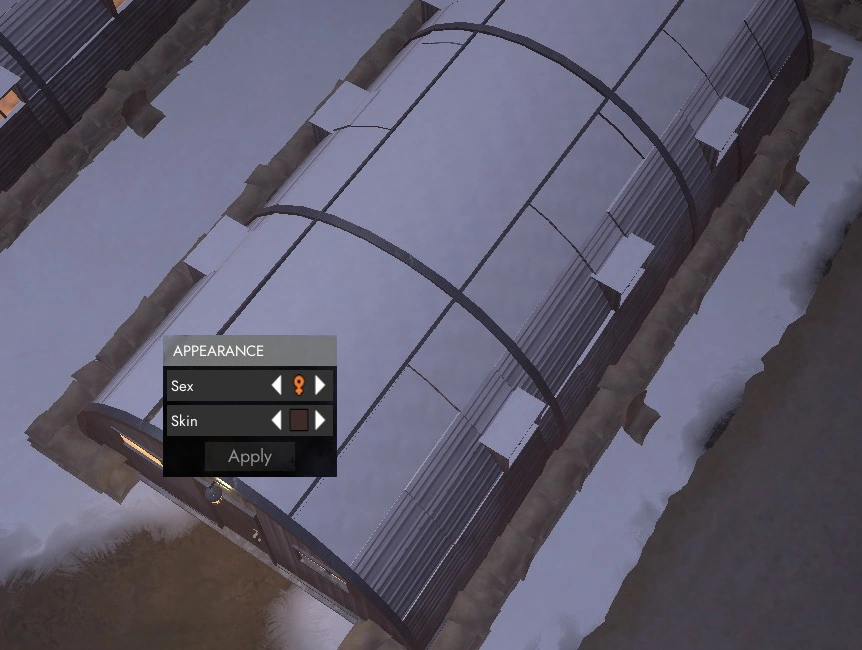
Appearance Selection Barracks[ | ]
You can change your appearance at any of the cylindrical barracks near the area you initially spawn in. Press E to open the appearance menu. Here, you can switch between male and female physique, and different skin tones.
Training Courses[ | ]
The home island contains a series of basic training courses for new players to learn some of the basics of the game. The locations of these training courses are marked with a ![]() icon on the map.
icon on the map.
Basic Training[ | ]
This training course is designed to explain to new players the very basics of movement and combat in the game. There is an obstacle course section that teaches the different controls, before moving into the combat section. This will teach players the basics of using Weapons, as well as things like stability.
Logistics Training[ | ]
The Logistics Training course is located at the end of the Basic Training course and exists to teach players the basics of the logistics system. It contains a single Salvage Field as well as a Factory, Construction Yard, Refinery and Storage Depot. Within this area 3 Cranes and 3 Flatbed Trucks spawn. There is also a magic box near the cranes that provides diesel for the vehicles.
Resource Training[ | ]
The Resource Training area is attached to one side of the Logistics Training, and contains one of each Resource Mine, as well as a Salvage Field, Component Field, Sulfur Field and a Oil Well. 3 R-1 Hauler Trucks, and 3 Harvesters also spawn near the refinery, as well as two magic boxes, one providing diesel/petrol, the other sledgehammers.
Vehicle Training[ | ]
The Vehicle Training area has three sections. The first section, closest to the entrance, consists of a large parking area with a Garage. Any vehicle that has been unlocked by your faction is available to be built here. Next to the Garage is a box which spawns materials to use for this. The second section is a set of three short obstacle courses to teach players how to handle vehicles. Beyond the obstacle courses is the Driving Course, a long windy course to teach further vehicle handling. Basic Trucks spawn at the start of this course. The two other boxes near the garage provide fuel and 7.92, which can be shot from the three armored cars that also spawn (Xiphos and O'brien, depending on the faction).
Artillery Training[ | ]
Beyond the Vehicle Training course is the Artillery Range. The artillery range has a variety of Mortars, Light Artillery and Heavy Artillery as well as targets to aim at. This training course is to help players learn how to aim and fire artillery, and provides players with Binoculars as well as an infinite supply of shells. Watchtowers are also given to demonstrate wind, and Motorboats with a magic box of fuel are also there to allow spotters to move faster.
Watercraft Training[ | ]
The Watercraft Training is a dock where all water vehicles your faction has will spawn to be test driven. This includes Landing APCs, Barges and Freighters. Fuel is provided, but ammunition is not provided.
Trench Training[ | ]
The Trench Training area is a large flat segment of land on the training island. It spawns Shovels and Basic Materials for players to use exploring how trenches are constructed. Beyond a hill, there is a non-player built concrete trench and three target dummies.
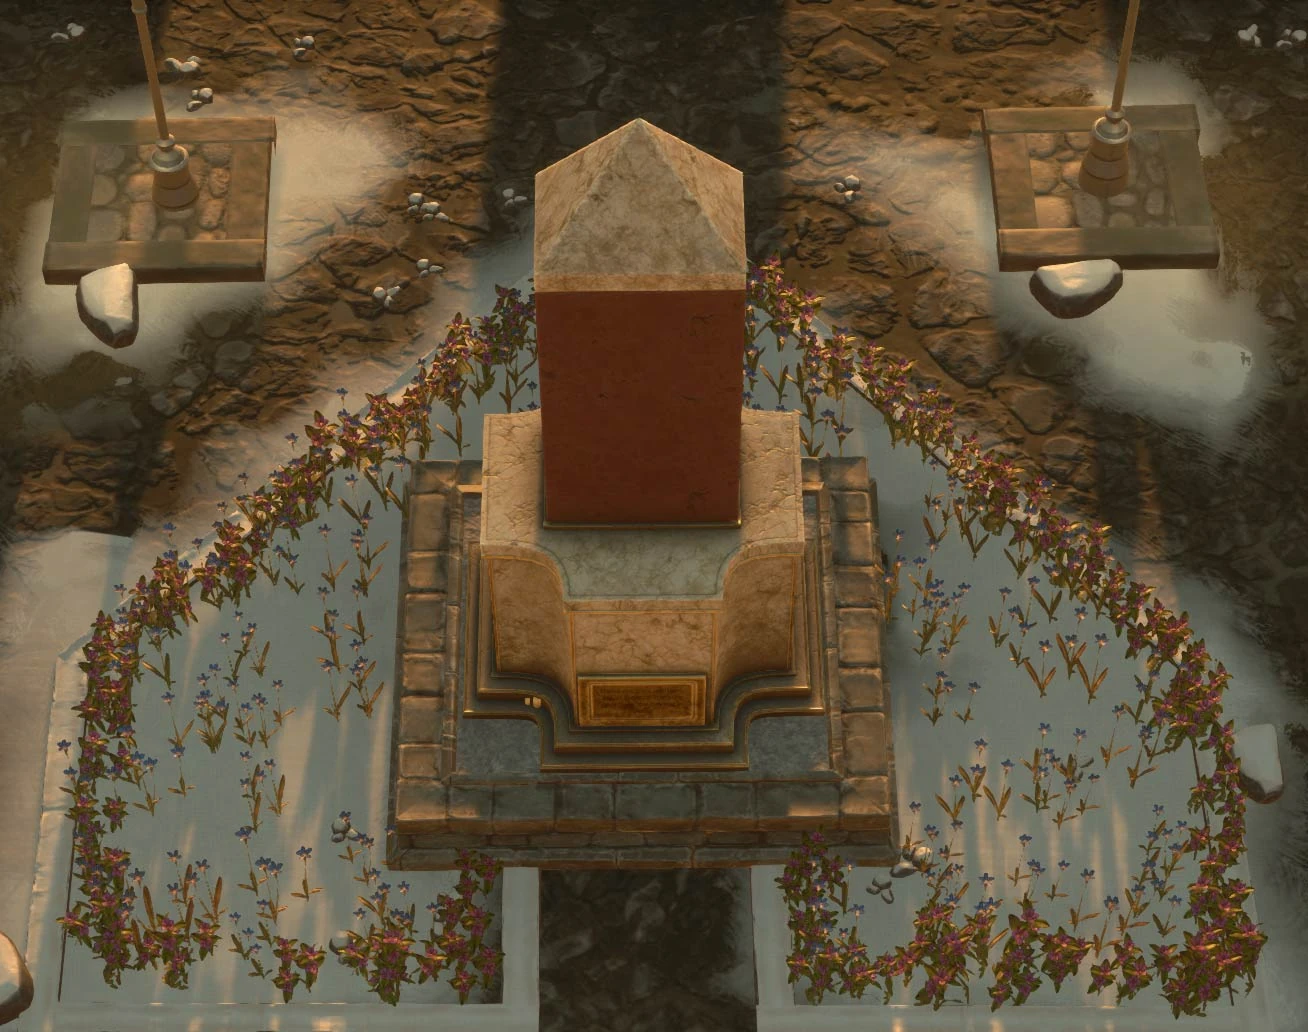
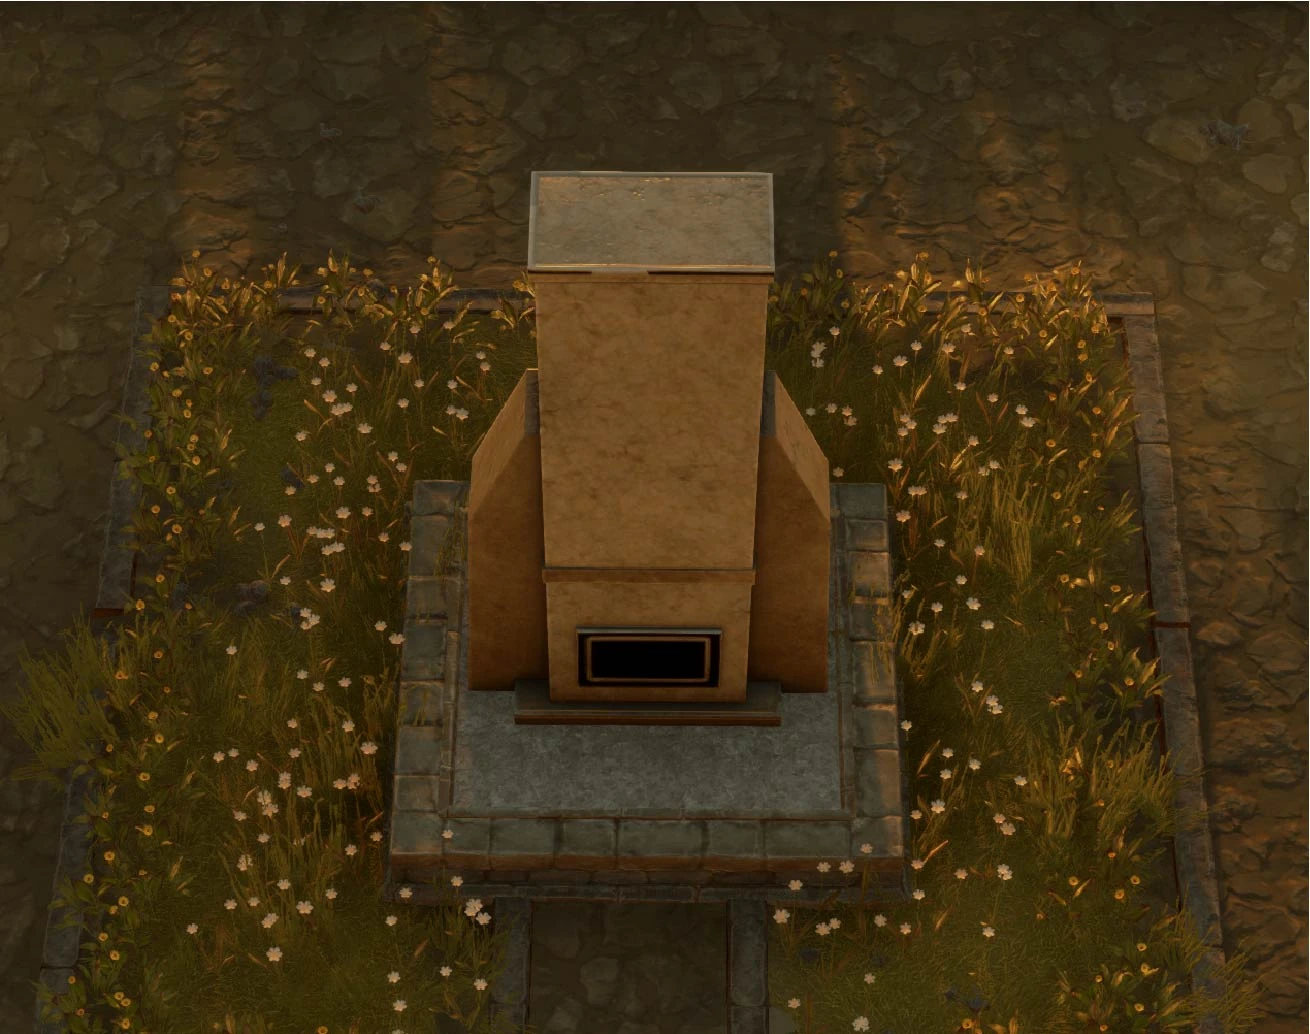
Monument[ | ]
This stone work of art serves as a trophy to show how well a faction played in the previous war. Pressing E on a monument will show who won the related war and the War Achievements unlocked by your faction during that war.
The 2 different Monuments:
- Platinum Standing: Won World Conquest
- Gold Standing: Lost World Conquest

Platinum Monument
Gold Monument
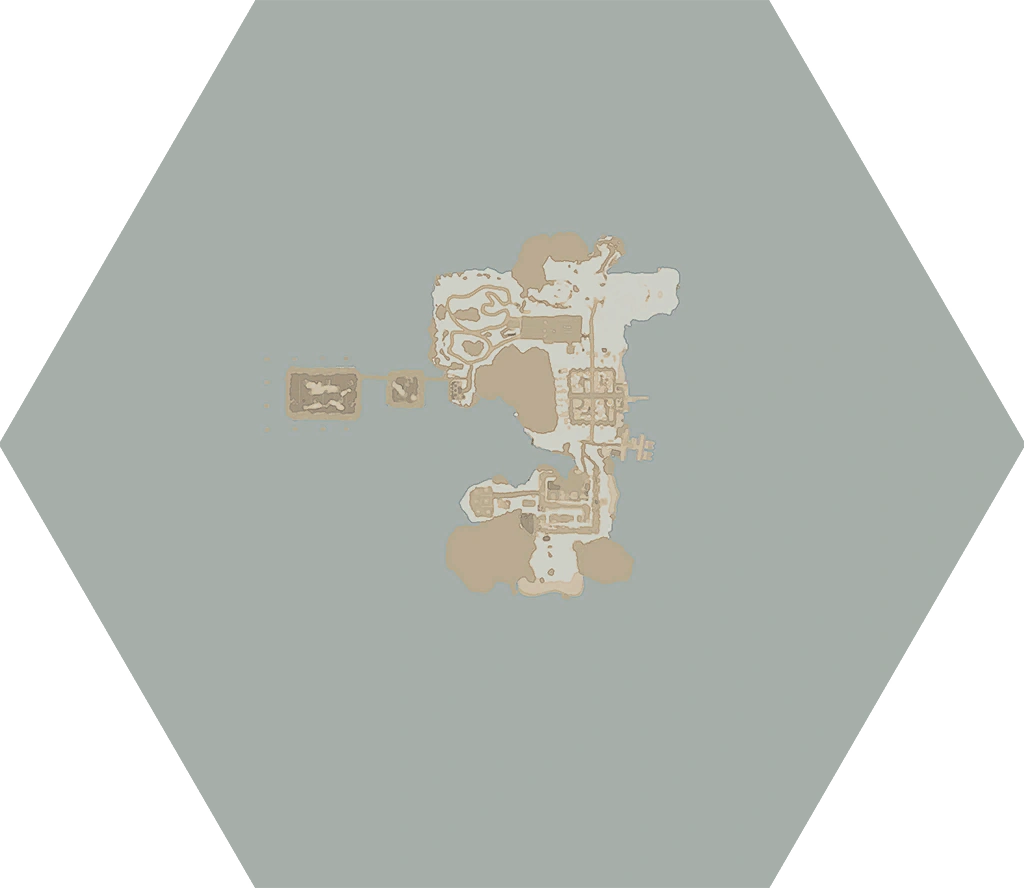
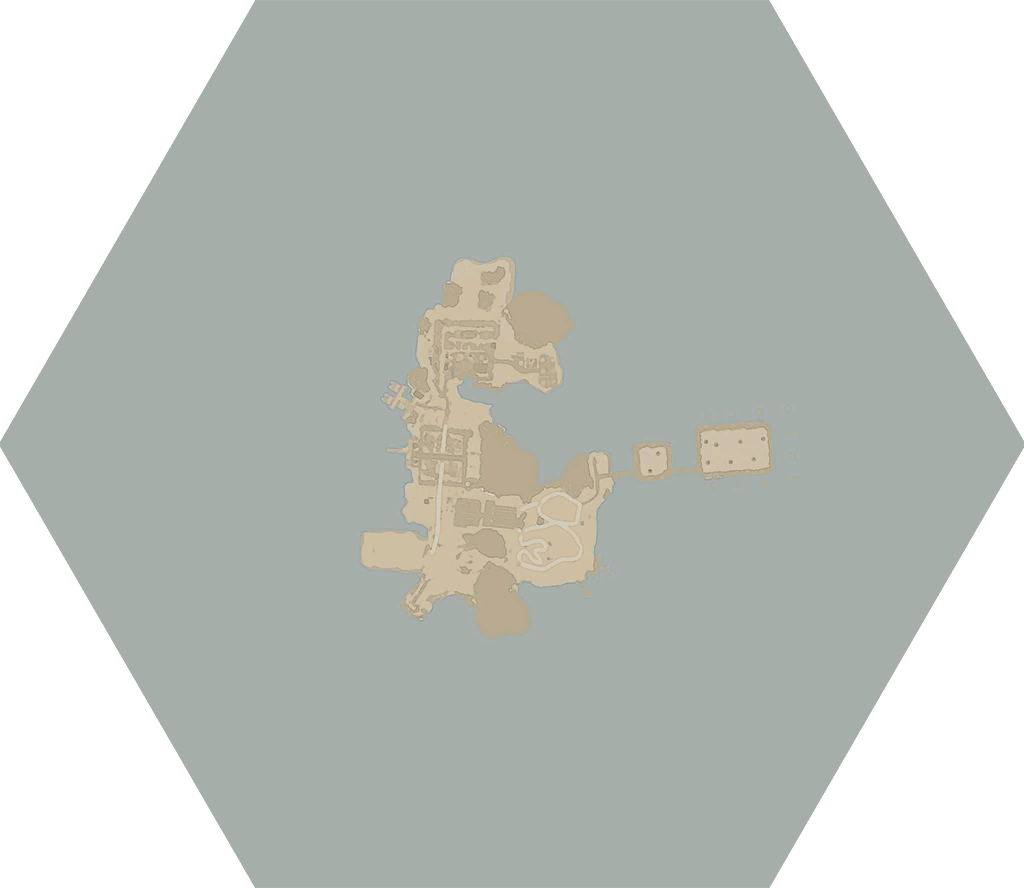
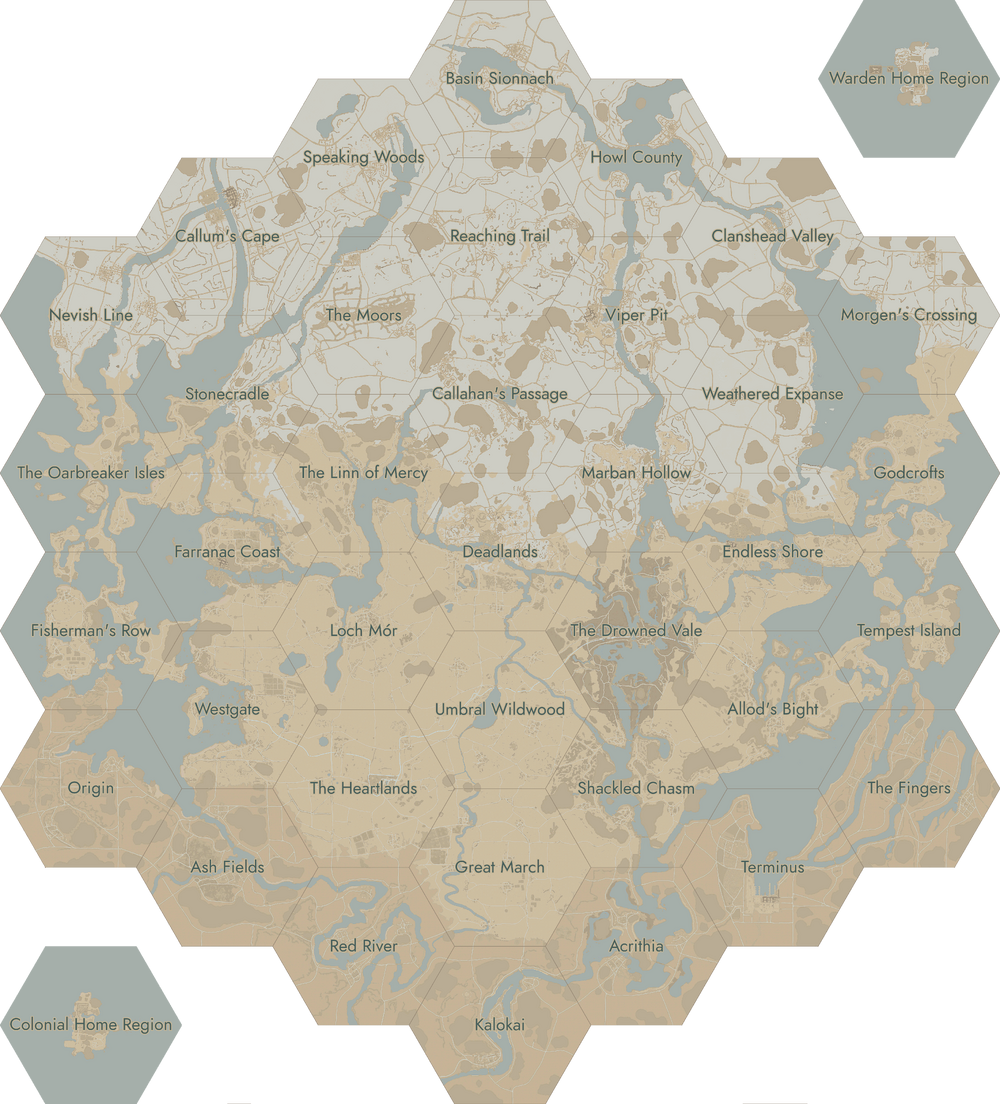
Map[ | ]
| Click on a region to open the corresponding page. |
|---|
 |